Home > Products > PVC PANEL > PVC CEILING PANEL > living room ceiling panel
living room ceiling panel


Installation
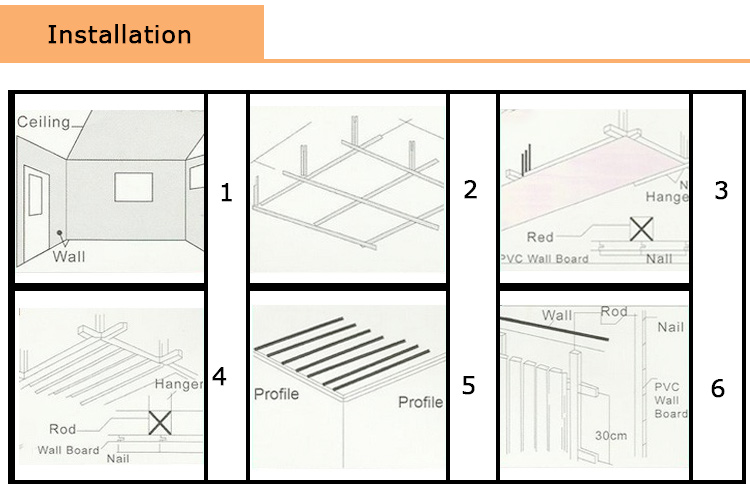
1. Select the first board and fix it onto the wooden framework.
2. Use a special designed connector to fasten the next board.
3. Fix the next board onto the wooden framework.
4. Continue this step until you hit the end of the ceiling.
10 easy steps to a complete makeover:
Step 1: Secure a corner support rail with nails, stapler guns, screws, liquid nails, etc so that it is securely fastened
Step 2: Fasten the top and bottom support rails.
Step 3: Cut the panels to size using a handsaw, electric saw or sharp blade.
Step 4: Slide the panel in at the top support rail and ease it into the bottom support rail.
Step 5: Make sure the first panel is attached securely to the corner.
Step 6: Take the next panel and repeat Step 4.
Step 7: Slide the panel to the previous panel making sure the tongue locks securely with the groove.
Step 8: Repeat Step 6 and Step 7 until you reach the end.
Step 9: If required, cut off any access to fit.
Step 10: Install a support rail to complete the installation.

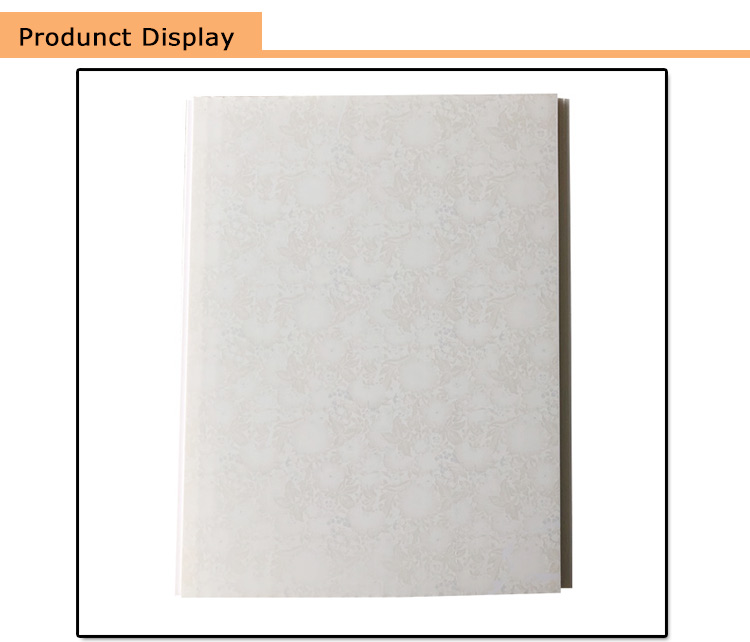
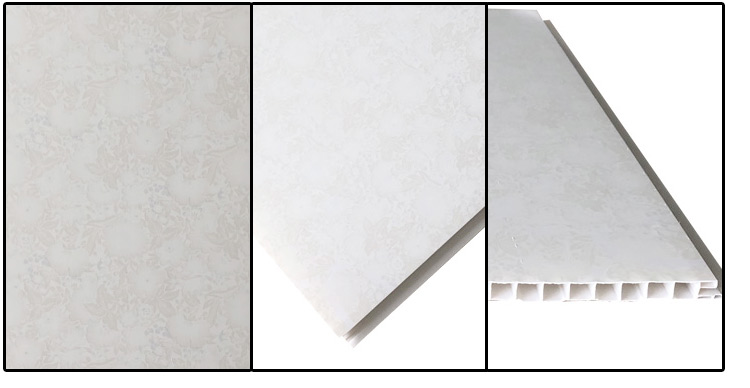
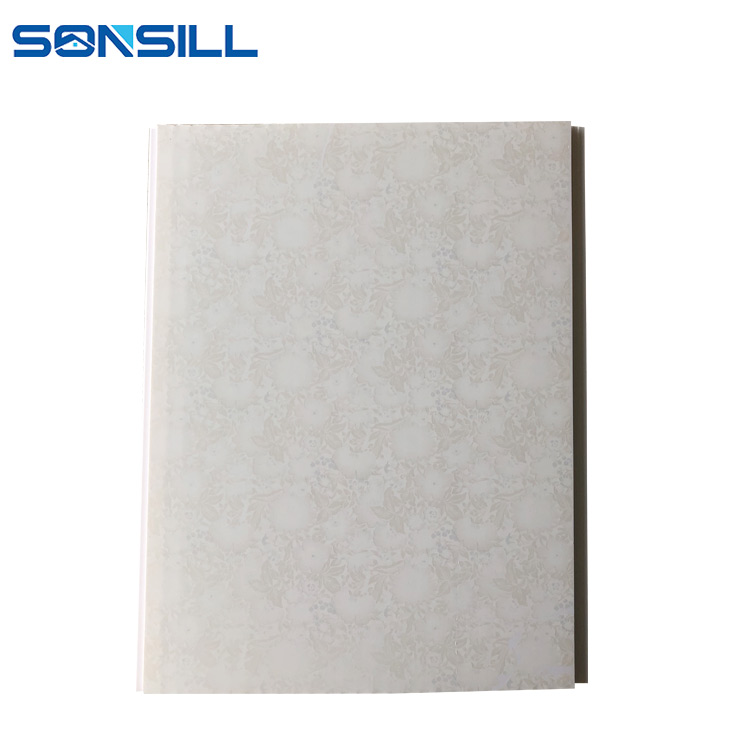
Product name | waterproof pvc ceiling board |
Row materials | pvc resin & calcium carbonate powder |
Brand Name | Sonsill or OEM service |
size | Width: 10cm-60cm Thickness: 4.5mm-15mm Length: 2.95m or 5.95m or according to customer requirement |
surface treatment | mat, glossy printing, hot stamping/transfer film printing, laminated |
Features | 1 The variety of colors and patterns 2 High intensity, resist erosion, anti aging 3 Fireproof, waterproof, environmental friendly 4 Easy setting and cleaning |
Application | bathroom, kitchen, dinning room, living room, shop, commercial buildings, Hospital, school, bar, hotel, restaurant… for indoor ceiling decoration. |
service | offers certificates such as BV, SGS, ISO9001, SUNCAP |


